The Problem: A Million Colors, Four Filament Slots
Here's a riddle: If AI can generate terrain with infinite colors, but your printer only has 4 filament slots, how do you bridge that gap?
This is the core challenge we solved at Terrain Builder, and understanding how we did it helps explain why our output looks dramatically better than anything else out there.
Let me walk you through it—no computer science degree required.
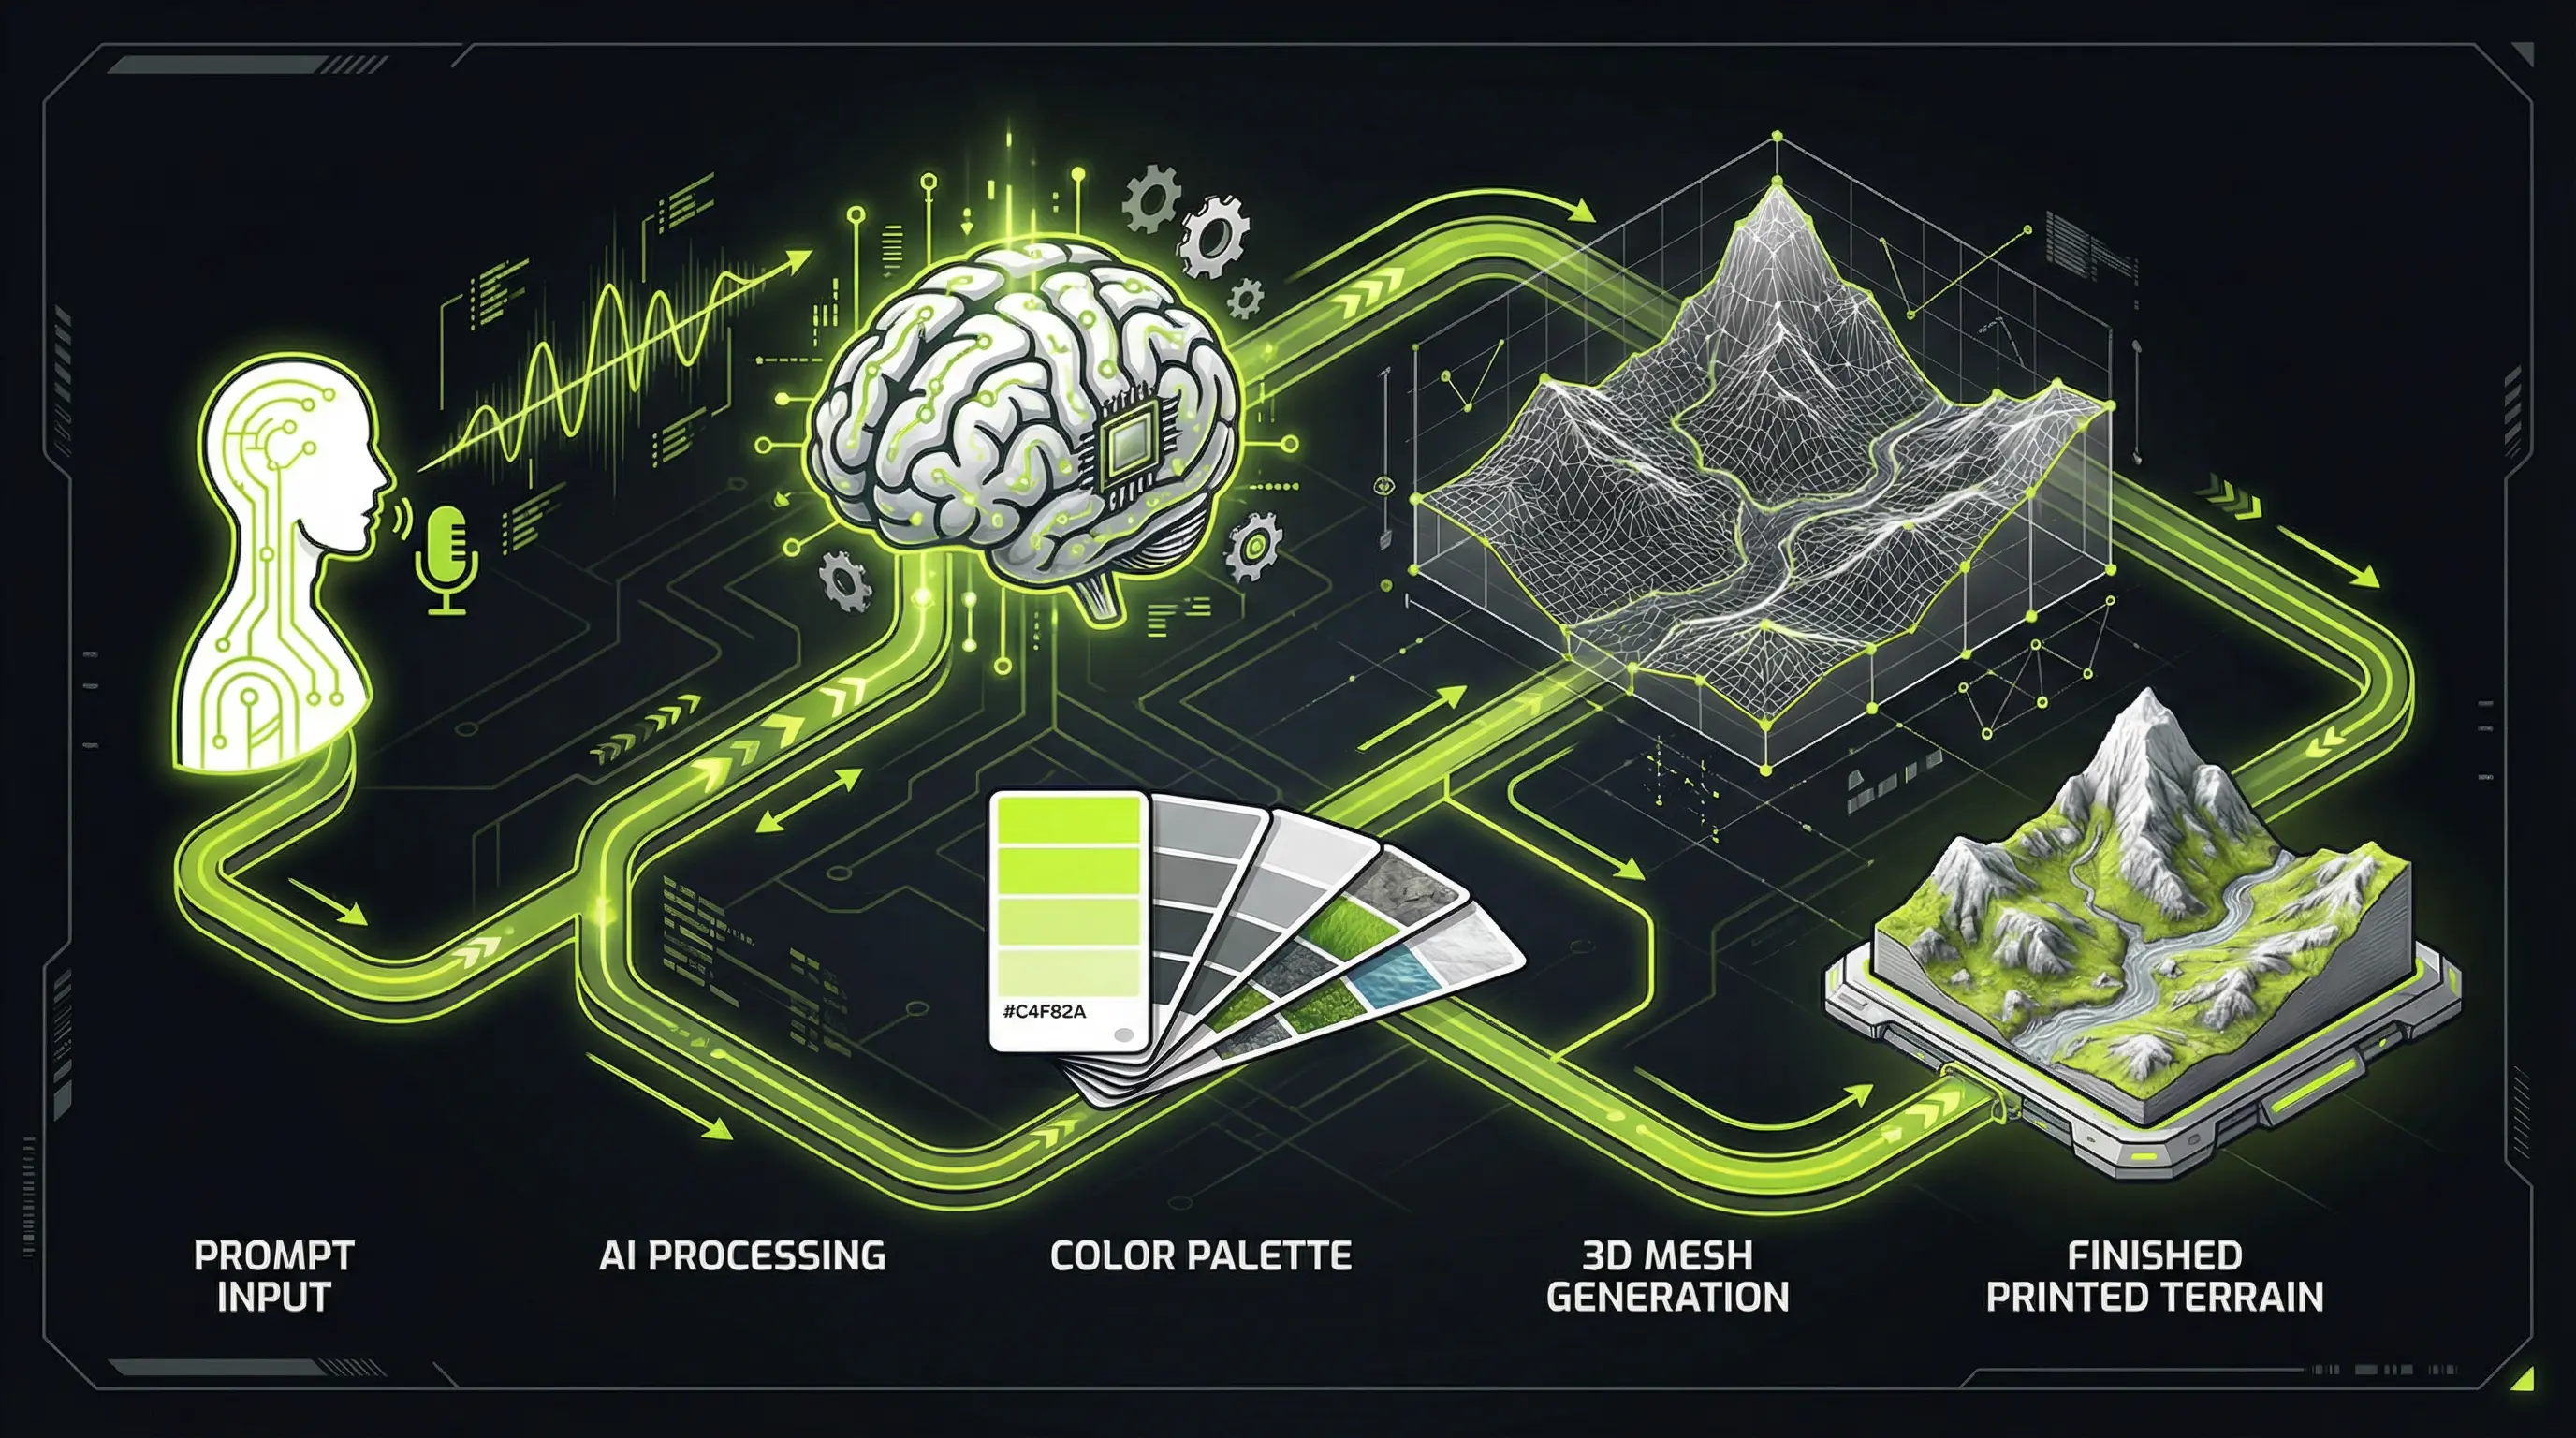
Step 1: You Tell Us What You Want
It starts with your prompt:
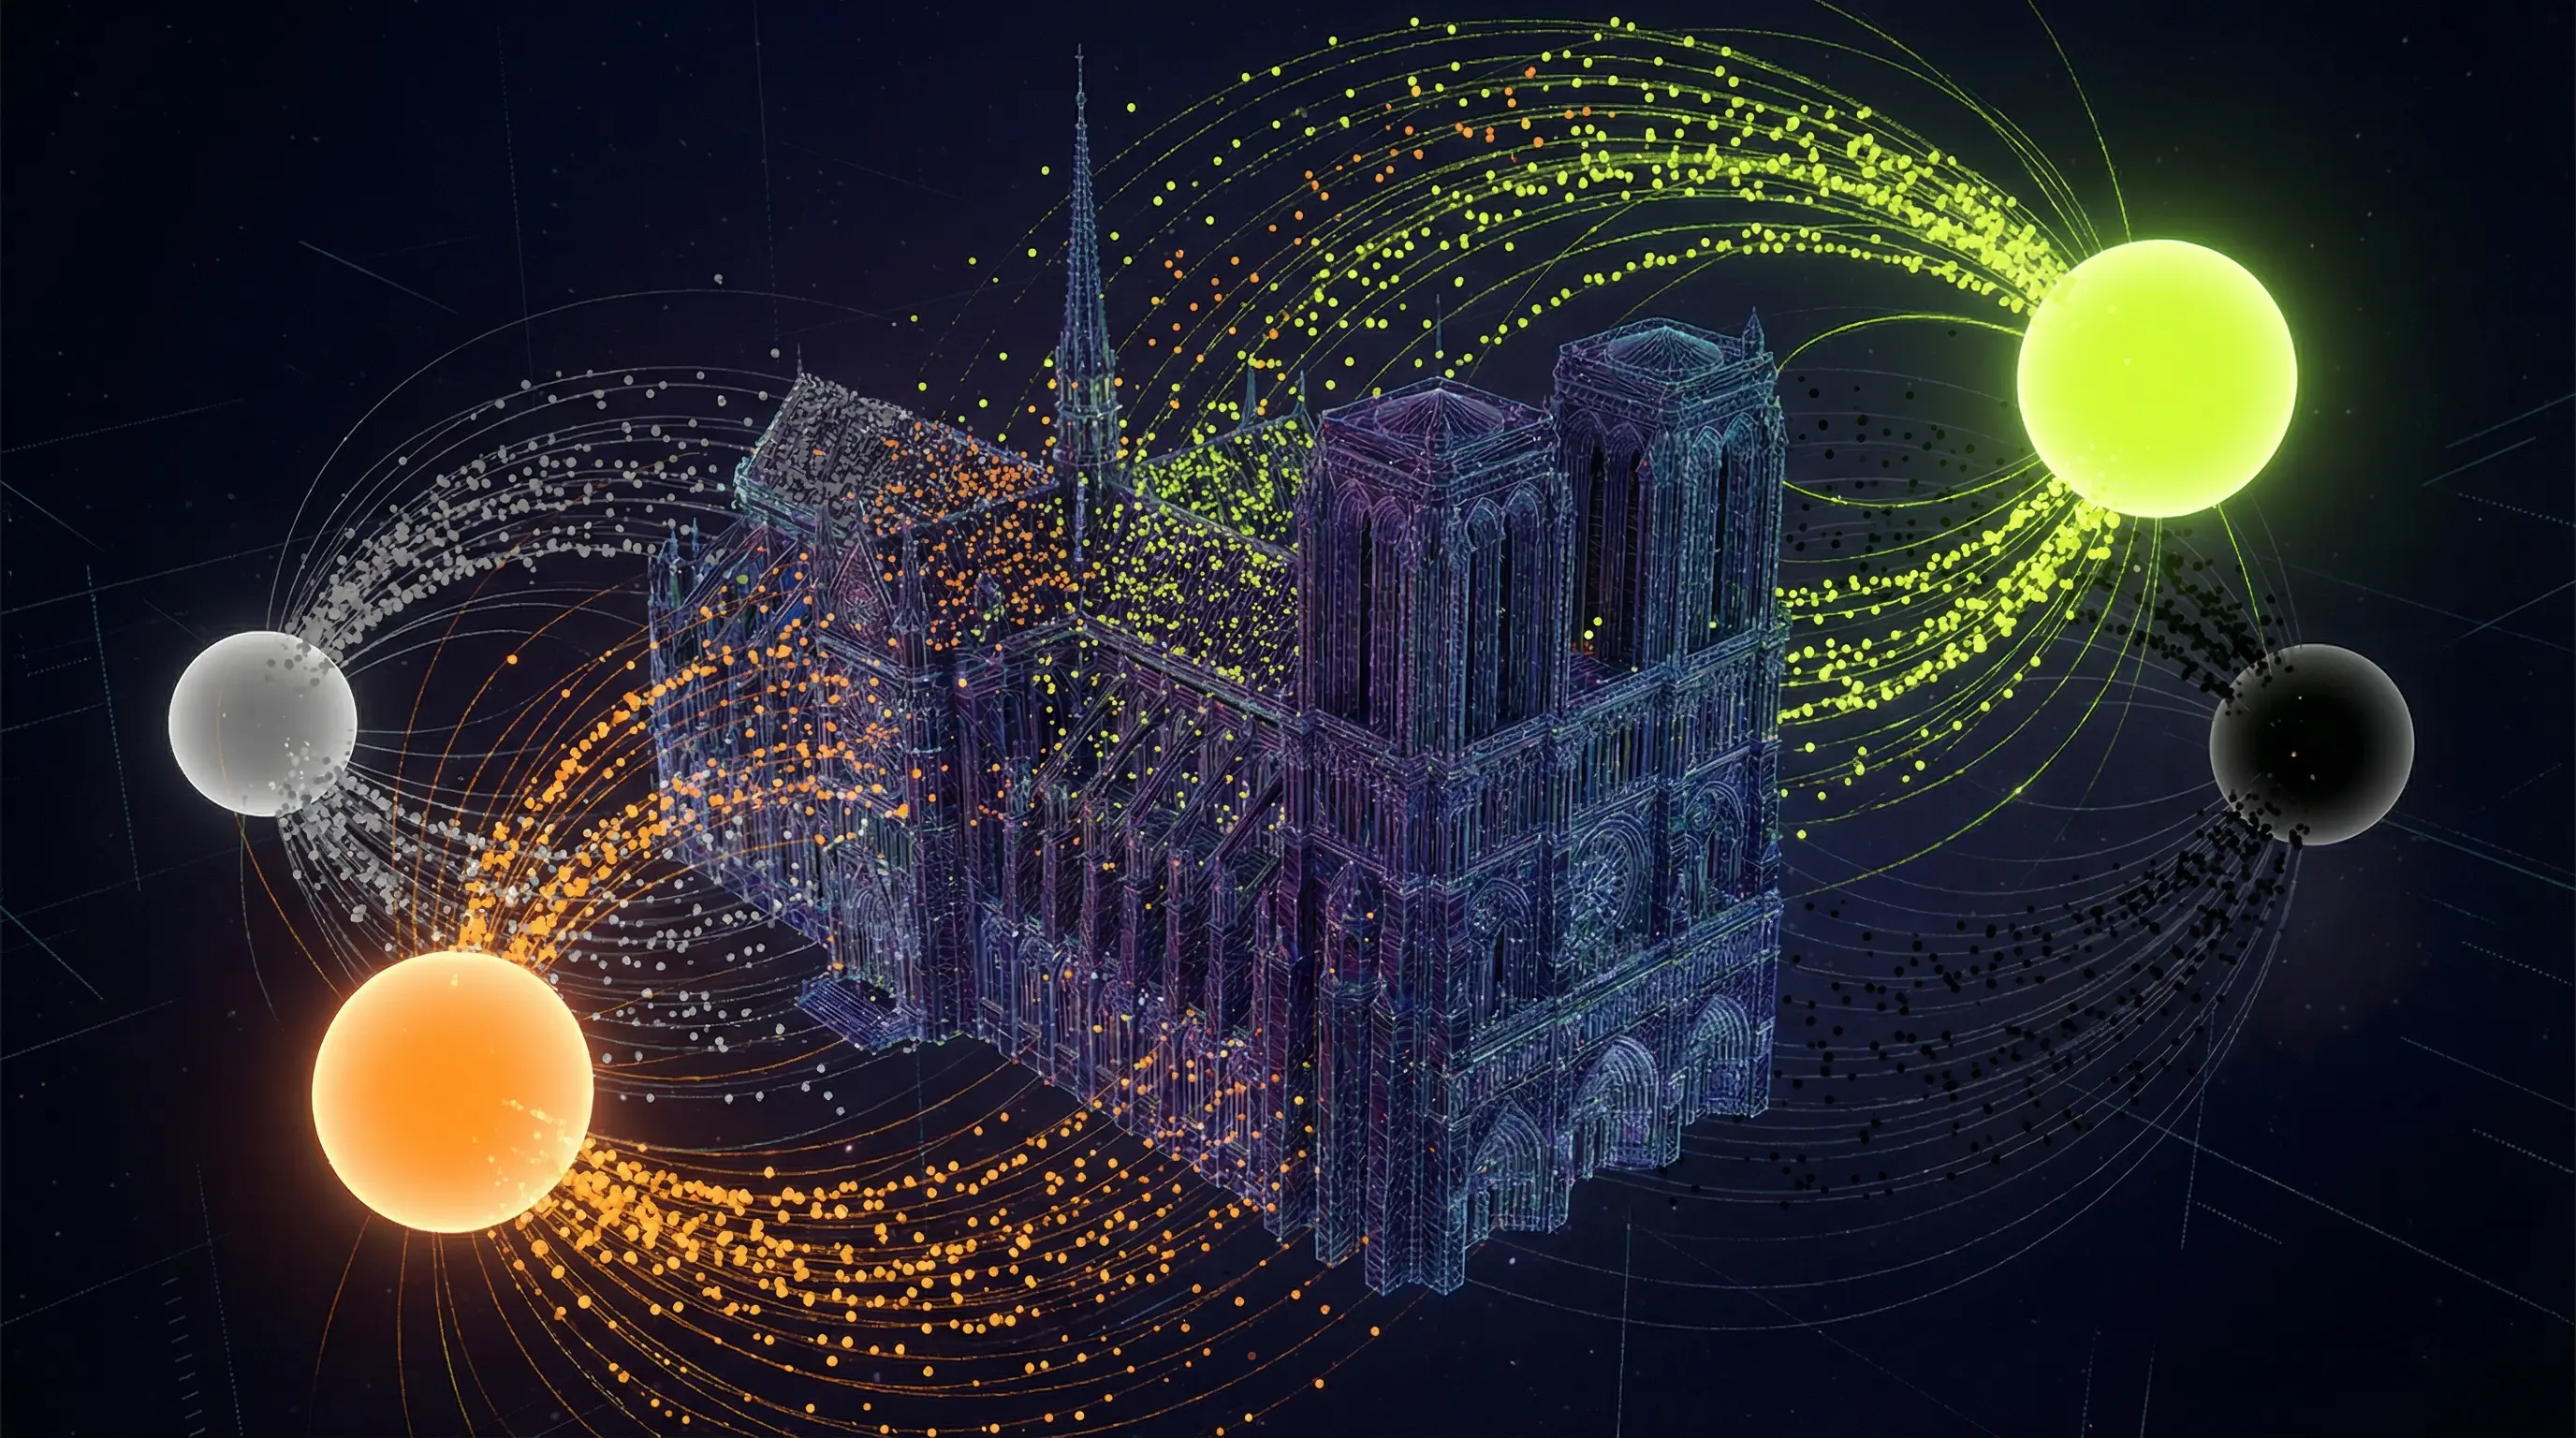
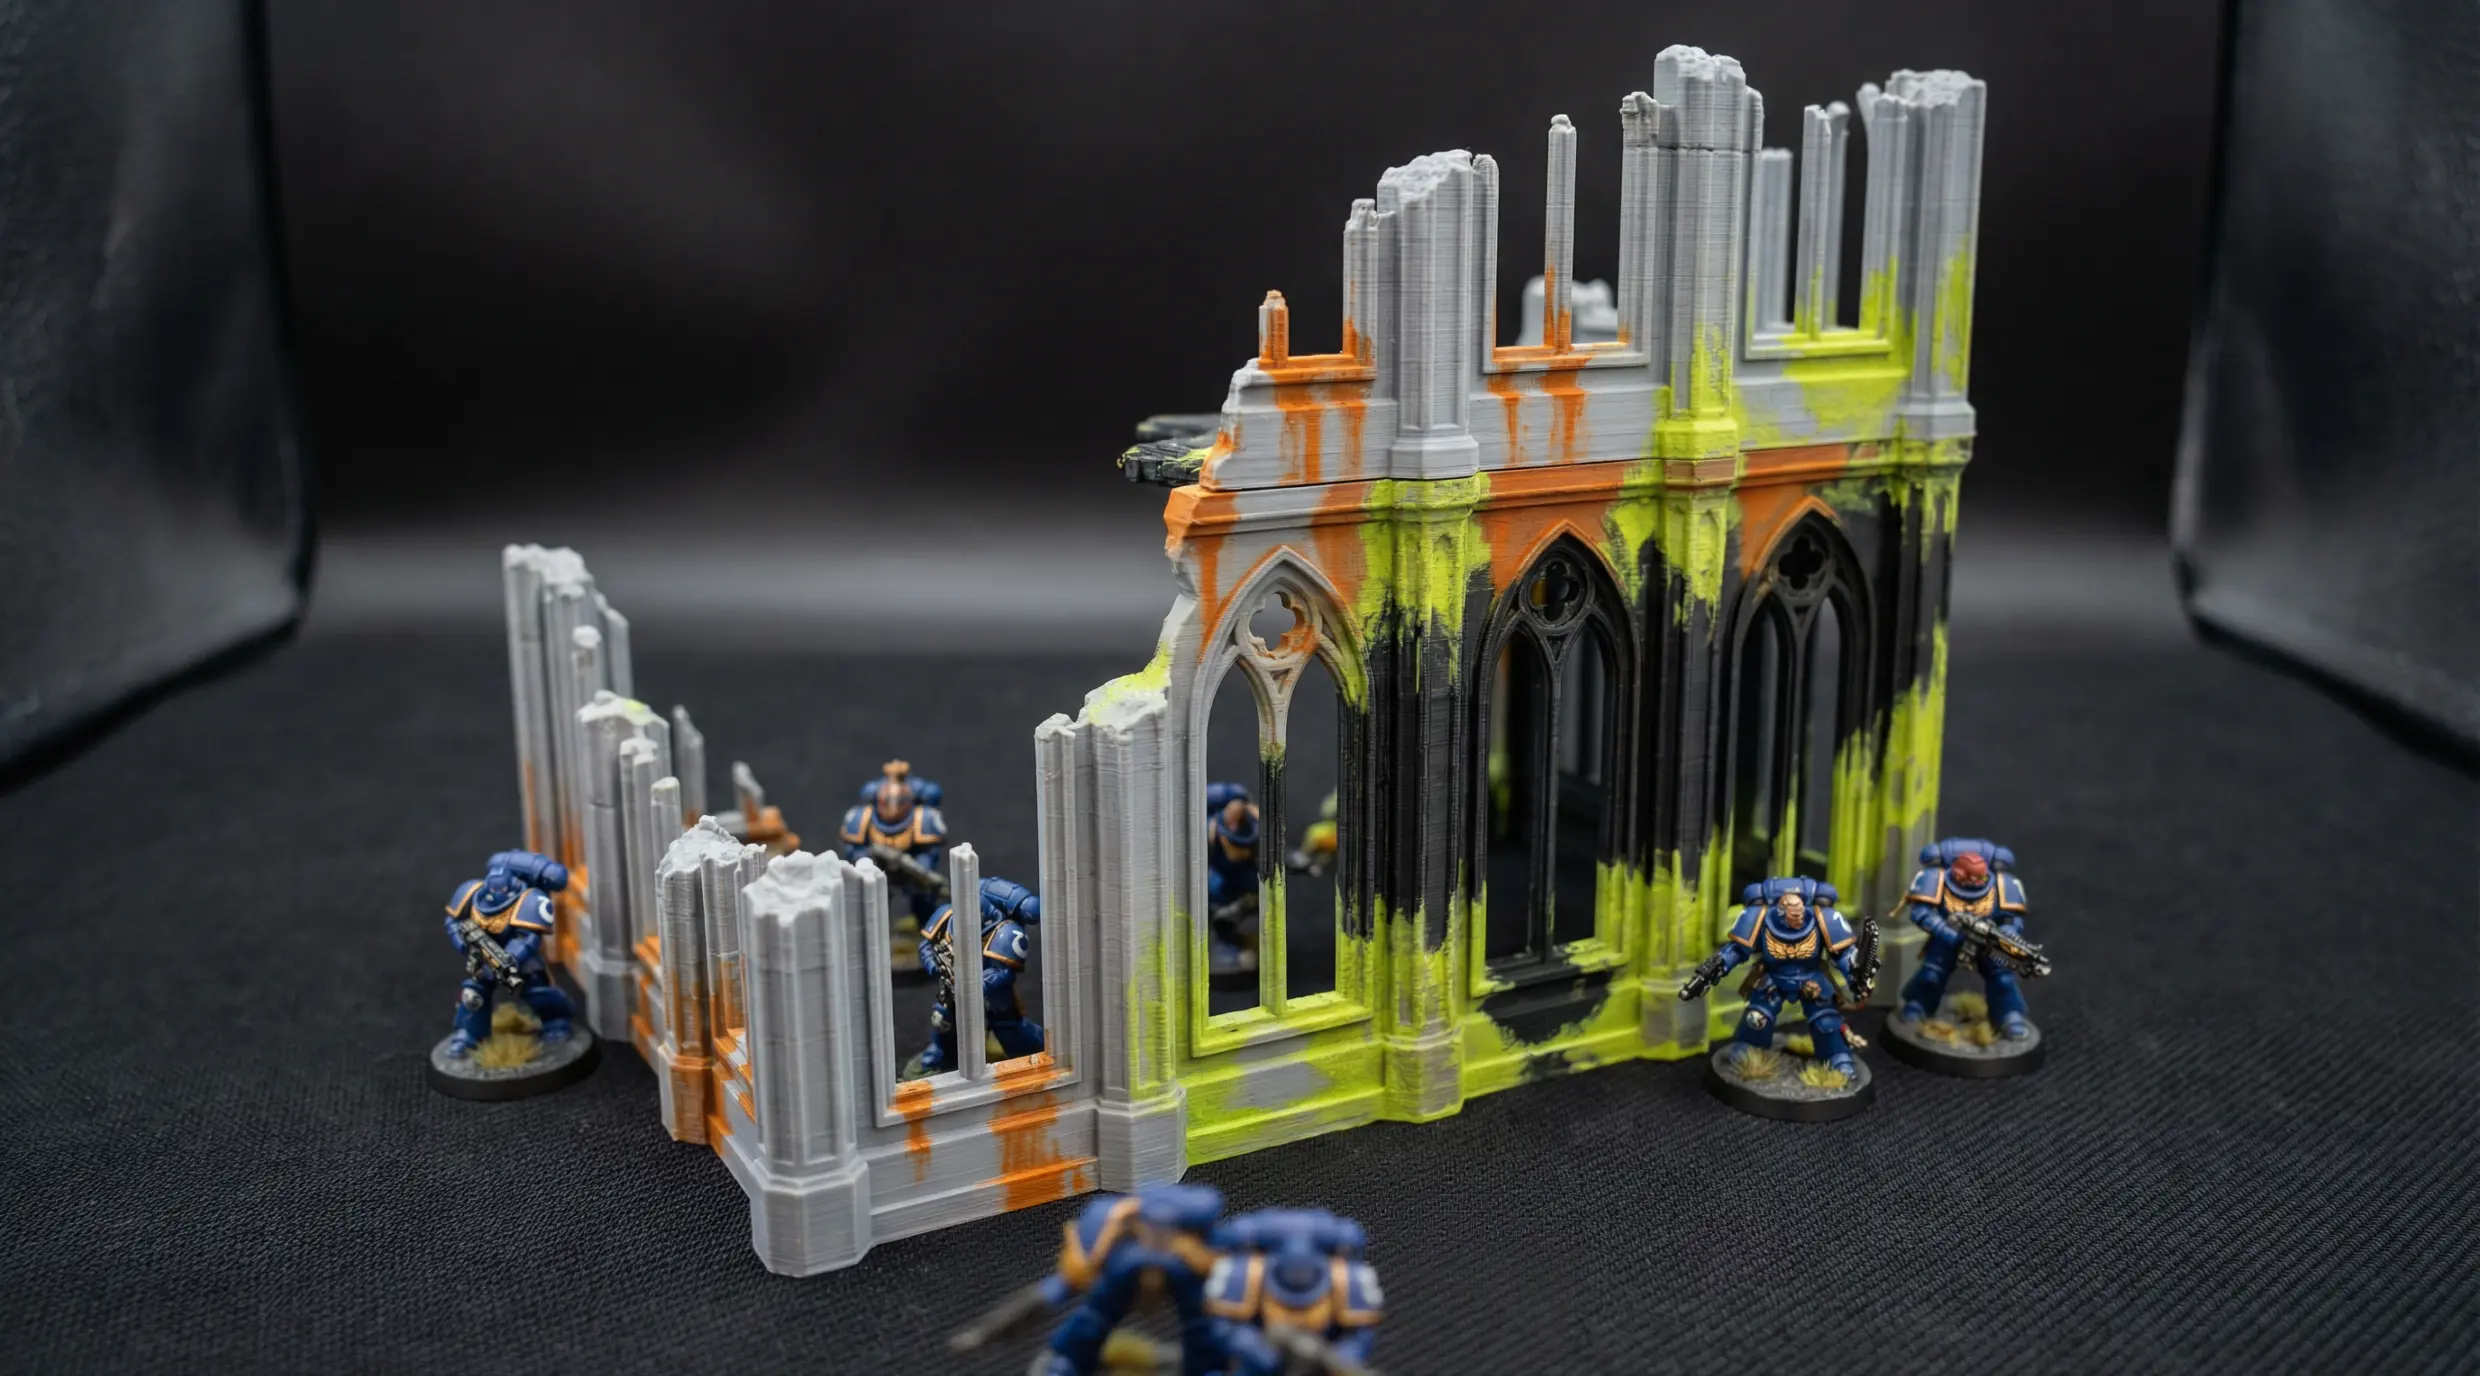
"Ruined gothic cathedral with broken stained glass windows, heavily weathered, rubble at the base"
Simple enough. But behind the scenes, we're doing something clever: we combine your description with a "style preset" that tells the AI what aesthetic to aim for.
Think of style presets like Instagram filters for terrain. When you pick "Grimdark Sci-Fi," we secretly append keywords like "gothic industrial, worn metal, battle damage, wargaming miniature scale" to your prompt.
This means you don't have to be a prompt engineering expert. You describe what you want in plain English, and we translate it into AI-speak.
Step 2: We Ask Your Printer What Colors It Has
This is the part that actually matters.
If you've connected your Bambu Lab account (optional but recommended), we can read exactly which filaments are loaded in your AMS. Not just "grey" but the specific shade—whether it's Bambu's official Basic Grey or some no-name filament you bought on Amazon.
We store these as RGB values. For example:
Now the AI knows its constraints. It's not generating generic terrain—it's generating terrain specifically designed for YOUR filaments.
Step 3: The "Blueprint" Preview
Before we spend time (and your tokens) on full 3D generation, we create what we call a "blueprint preview."
Using a fast image AI (similar to Midjourney or DALL-E, but tuned for terrain), we generate a 2D concept image showing exactly how the terrain will look with your four colors. This takes about 10-15 seconds and costs almost nothing.
You see the ruined cathedral rendered in your specific grey, orange, black, and green. Don't like how the orange looks on the damaged sections? Swap it for another filament. The preview regenerates instantly.
This is why you'll never be surprised by the final print. You approve exactly what you're going to get before we do the expensive 3D work.
Step 4: From Flat to 3D
Once you approve the preview, we send it to our 3D generation pipeline.
Think of this like having an artist sculpt a clay model based on a painting. The AI looks at your approved blueprint from multiple angles and builds a 3D mesh that matches it.
This takes 30-90 seconds and produces what we call a "raw mesh"—a 3D shape that looks right but isn't quite ready for printing.
Step 5: Making It Printable
This is where most AI terrain tools stop. They hand you a raw mesh and say "good luck."
We don't.
Our software automatically:
- Repairs holes and errors: AI-generated 3D models often have tiny gaps or weird overlapping surfaces that would cause print failures. We patch them automatically.
- Ensures wall thickness: Some walls might be paper-thin, which would either fail to print or break immediately. We ensure everything is at least 1.2mm thick—sturdy enough for gaming use.
- Checks the size: If your terrain is bigger than your printer's build plate (256mm for most Bambus), we automatically split it into printable sections with connectors so you can assemble them later.
- Optimizes orientation: We position the model to minimize support material and maximize print quality.
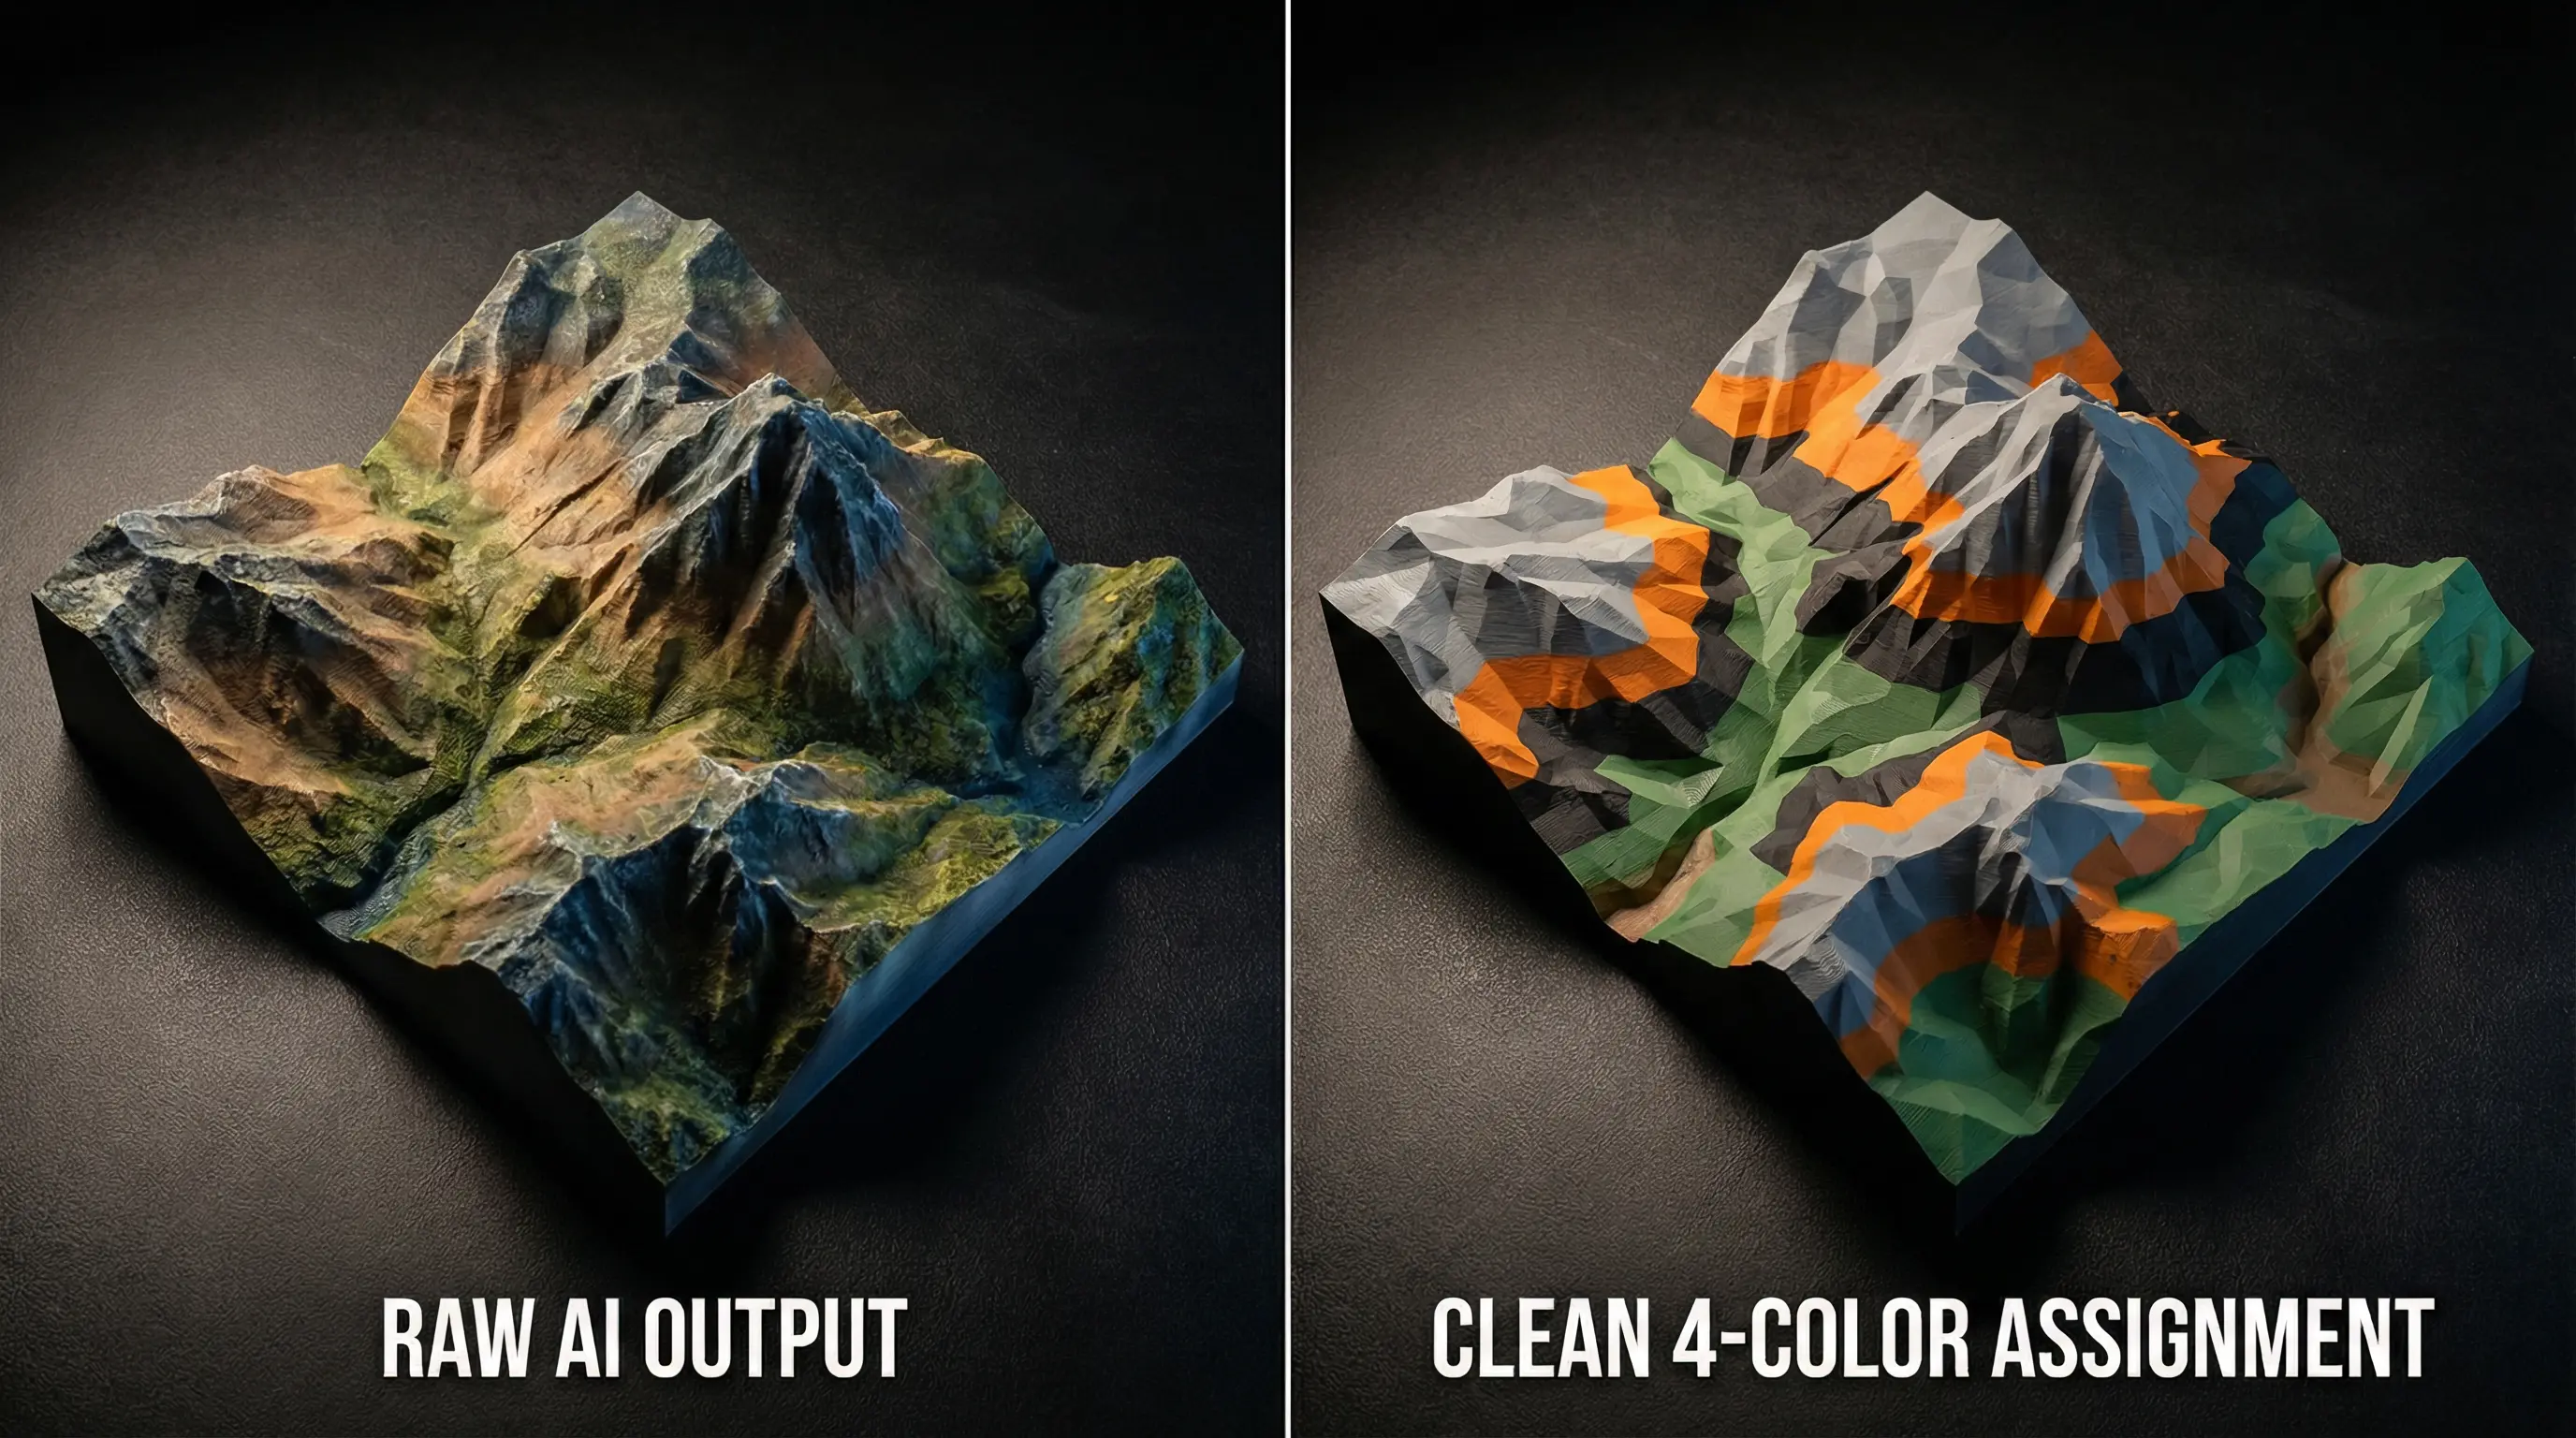
Step 6: The Color Assignment Magic (K-Means Clustering)
Now for the cool part: how do we decide which parts of the terrain get which color?
Remember that the 3D AI generates terrain with texture information—essentially a "paint job" on the mesh. This texture might have thousands of subtle color variations.
We use a technique called "K-means clustering" to simplify this down to exactly 4 colors. Here's how it works in plain English:
- We look at every point on the surface and note its color from the AI's texture
- We find the 4 most "representative" colors—the ones that, if you squint, summarize all the variations
- We group similar colors together: All the light greys become "Color 1," all the orangey-browns become "Color 2," etc.
- We map these groups to your filaments: The darkest group goes to your black, the brightest to your lightest filament, and so on
The result is a mesh where every face is assigned to one of your 4 AMS slots. No gradients, no impossible colors—just a clean, printable file that uses exactly what you have loaded.
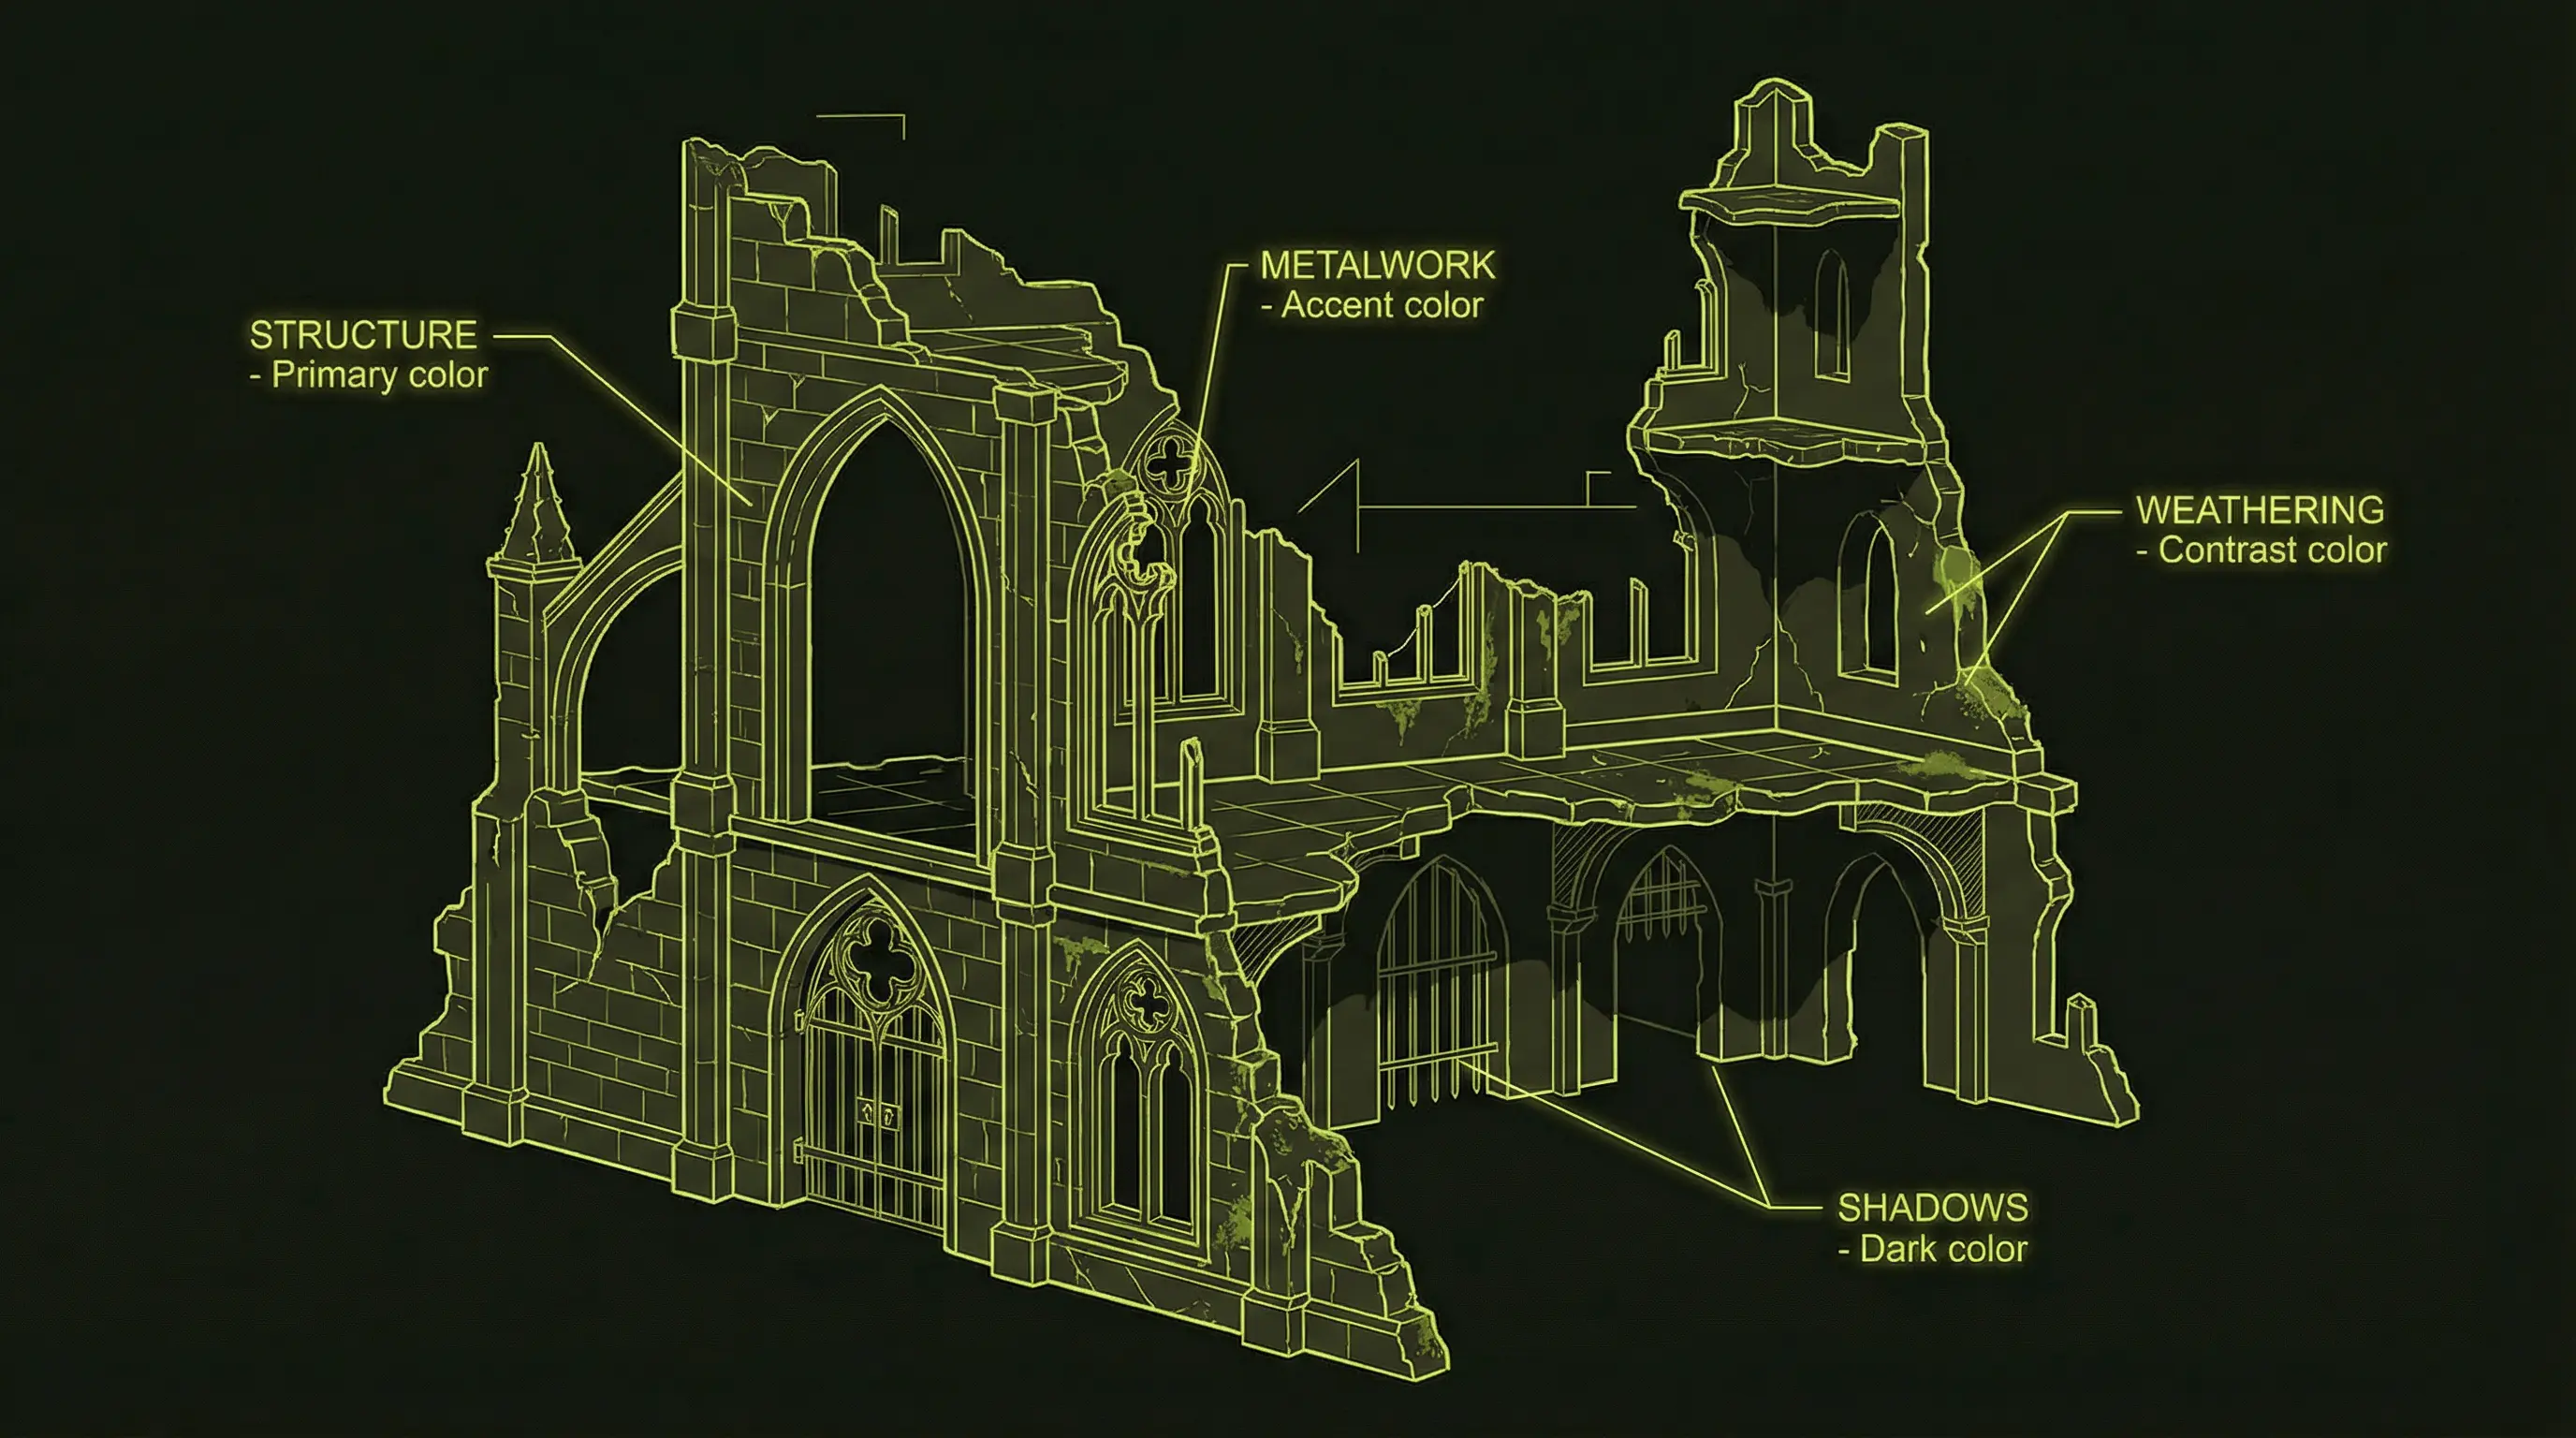
Step 7: Semantic Awareness (The Secret Sauce)
Here's what makes our color assignment actually look good, not just mathematically correct:
We don't just cluster by color—we cluster by meaning.
When the AI generates terrain, we train it to tag regions semantically:
- "This is structural stone"
- "This is decorative metalwork"
- "This is weathering/damage"
- "This is shadow/recessed areas"
Then we map YOUR colors to these semantic categories in a way that makes visual sense:
This is why Terrain Builder output looks intentional, not random. The AI understands that rust goes in recessed areas and clean metal goes on edges—just like a human painter would decide.
Step 8: Export to 3MF
Finally, we package everything into a 3MF file. This format is Bambu Lab's native language:
- The mesh with all repairs complete
- Color assignments per face, mapped to AMS slots
- Print settings optimized for terrain (layer height, infill, speed)
- Metadata so Bambu Studio knows exactly what to do
When you open this file in Bambu Studio, it just works. The colors are already assigned. The settings are already optimized. You hit print, and your terrain starts appearing.
Why This Matters
The terrain printing workflow used to look like this:
- Search STL sites (30 minutes)
- Download and open in slicer (5 minutes)
- Realize colors don't match your filaments (5 minutes of frustration)
- Try to re-color in Blender (2 hours of tutorial-watching)
- Give up and print in grey (acceptance of defeat)
With Terrain Builder, it's:
- Describe what you want (30 seconds)
- Approve the preview (10 seconds)
- Download and print (1 click)
Total time from prompt to printable file: under a minute. You describe what you want, approve a preview, and your printer does the rest.
Want to See It in Action?
We're currently in beta, building out these features with real hobbyists like you.
Your Bambu Lab machine is capable of incredible things. Let's finally use it to its full potential.
Technical Footnotes (For the Curious)
- K-means clustering is a standard machine learning algorithm from 1957, modernized for GPU computation
- 3MF (3D Manufacturing Format) is an open standard supported by Microsoft, HP, Autodesk, and others
- Semantic segmentation uses convolutional neural networks to understand "what" is in an image, not just "where"
- Our mesh repair uses PyMeshFix and Trimesh, open-source libraries used in industrial 3D printing
Ready to see what AI-powered terrain generation looks like?
Join the waitlist and be among the first to experience custom terrain that matches your army.
Join the Waitlist